Zoiper
ZOIPER WILL SOON BE DEPRECATED AND NO LONGER RECOMMENDED FOR USE WITH OUR SYSTEM, PLEASE SEE TLDSIP FOR OUR NEW SOFTPHONE OF CHOICE.
TLDR; Steps to Configuring Zoiper
- Buy Zoiper
- Install Zoiper
- Configure SIP Account
- Configure CRM Pop
Buying Zoiper
Follow this link to go to the purchase page.

The more licenses you buy at once the cheaper Zoiper is. Make sure you keep in mind your future growth before buying.
Install Zoiper
Download Zoiper Biz from our server here.
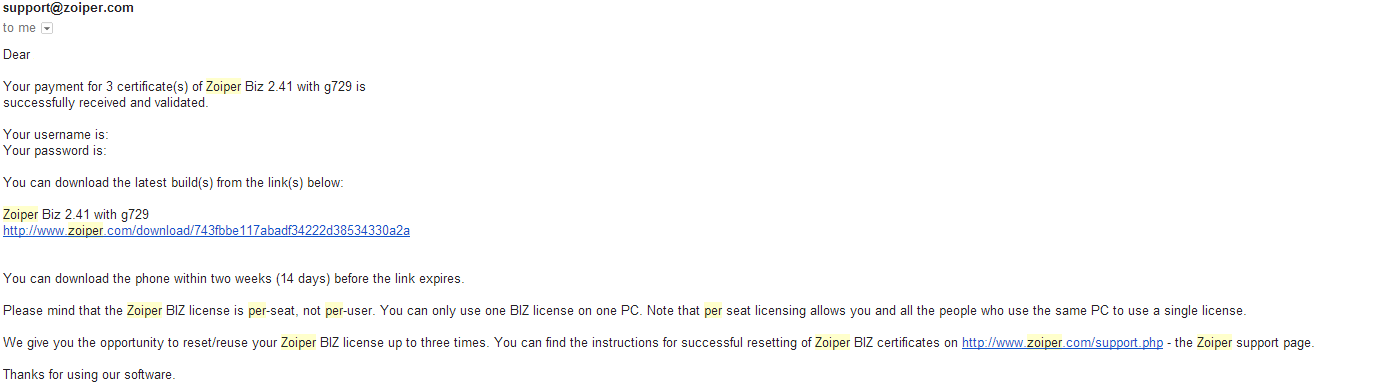
Once you have purchased Zoiper they will send you an email with a link to download Zoiper Business as well as credentials to register it when it opens for the first time. Please do not reinstall Zoiper over and over as it will try to use new licenses each time, although it tries to keep track of what computer it has been on.
Make sure to remove any previous versions of Zoiper before installing this one.
Configure SIP Account
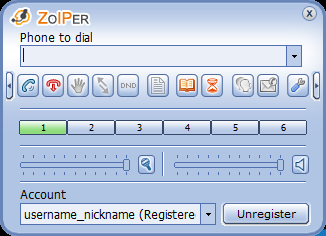
First we need to install Zoiper and load it so we’re looking at this:

Next, click the wrench on the rightmost side of the application. This is where “Options” will pop up. You should see something similar to the image below:
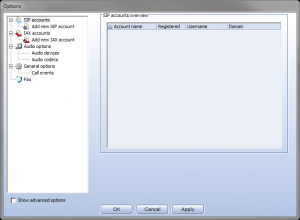
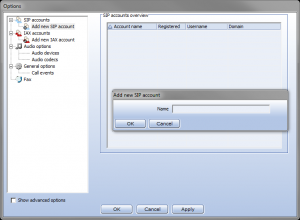
Now we want to add a new SIP account, so click “Add new SIP account.” You’ll see a box pop up and ask you for a name. This can be whatever you wish it to be.
From here we’ll have to click on the new account we created on the left side. It should pull up empty boxes. Fill them in with the information you were provided. Caller ID can be customized but is not recommended, we suggest using the Caller ID we provide to you, verbatim. Update: 1/18/2015: The domain should be set to asterisk.tldcrm.com

Now you should be able to press Apply and/or OK and be set. Look to the image below and see where it says “Registered” in parentheses. If it does not say “Registered” then calling out or receiving calls won’t work. Double check the information you entered in the previous steps and if in doubt open a ticket and we’ll get to you as soon as we can.
Configure CRM Pop
In order for inbound calls to automatically load up TLDCRM you need to configure an advanced feature only available with Zoiper for Business.
In the settings menu, click the checkbox at the bottom that says “Show advanced options”
Then click on general options. A drop down should appear under general options.
You then want to click on “Call events”
On the right side there should be a dropdown that is labeled “Open URL on:”
Choose: “incoming call answer”
In the URL, you should insert the following:
https://{account}.tldcrm.com/dialer/phone/$(CALLERNUMBER)
Where {account} is your account name.
Example: https://tbd.tldcrm.com/dialer/phone/$(CALLERNUMBER)
Remember to change the {account} with the letters of your company account. Not sure what your account name is?

Click Apply and then Ok and now whenever you get an inbound call on Zoiper it should open the CRM in your default browser!
Enjoy using our phone system, we appreciate any feedback you have!
Configure Click and Dial
Under General options there is a section called Automation / Integration.
Make sure to check all 3 boxes to integrate Zoiper for your web browser, Outlook and more.
Now you can call someone by just clicking their number!
Keep Zoiper Always On Top
Under General options (click the musical notes) there is an “Always on top” checkbox.
Click this to be sure Zoiper is always in view when you want it!
This makes receives multiple calls far easier in case they don’t ring occasionally.
Stop Ringing while Busy
Difficult to concentrate with other lines/queues ringing you at the same time?
Under Audio options there is an “Ring when talking (incoming calls)” checkbox.
Uncheck this to focus more on your current call and stop all that ringing. Just be aware that any queue calls or other lines that ring will only blink red in Zoiper! Best used with “Always On Top” above.